
viewpoint travel guide easy access is really about one thing: getting a memorable view without turning the day into a stamina test, a parking battle, or a stressful “can we even do this?” situation.
If you travel with kids, older parents, an injury you’re managing, limited time, or mobility equipment, the “best viewpoint” list you find online can feel a little tone-deaf, a lot of iconic overlooks still assume you can handle stairs, uneven rock, or a long approach.
This guide focuses on practical filters, quick checks, and on-the-ground planning so you can choose viewpoints that match your body, your group, and your day, not a brochure fantasy. You’ll also see a table you can reuse while planning.
What “easy access” actually means (and what it doesn’t)
“Easy access” gets used loosely, so it helps to translate it into measurable things. In many parks, an overlook can be close to the road but still tricky because the last 200 feet include steep grades, stairs, or narrow surfaces.
- Distance from parking: often under 0.25 miles one way, but the surface matters more than the number.
- Surface: paved, boardwalk, or compacted gravel is typically easier than sand, roots, or slick rock.
- Grade and cross-slope: a gentle slope feels fine, a short steep pitch can be the entire barrier.
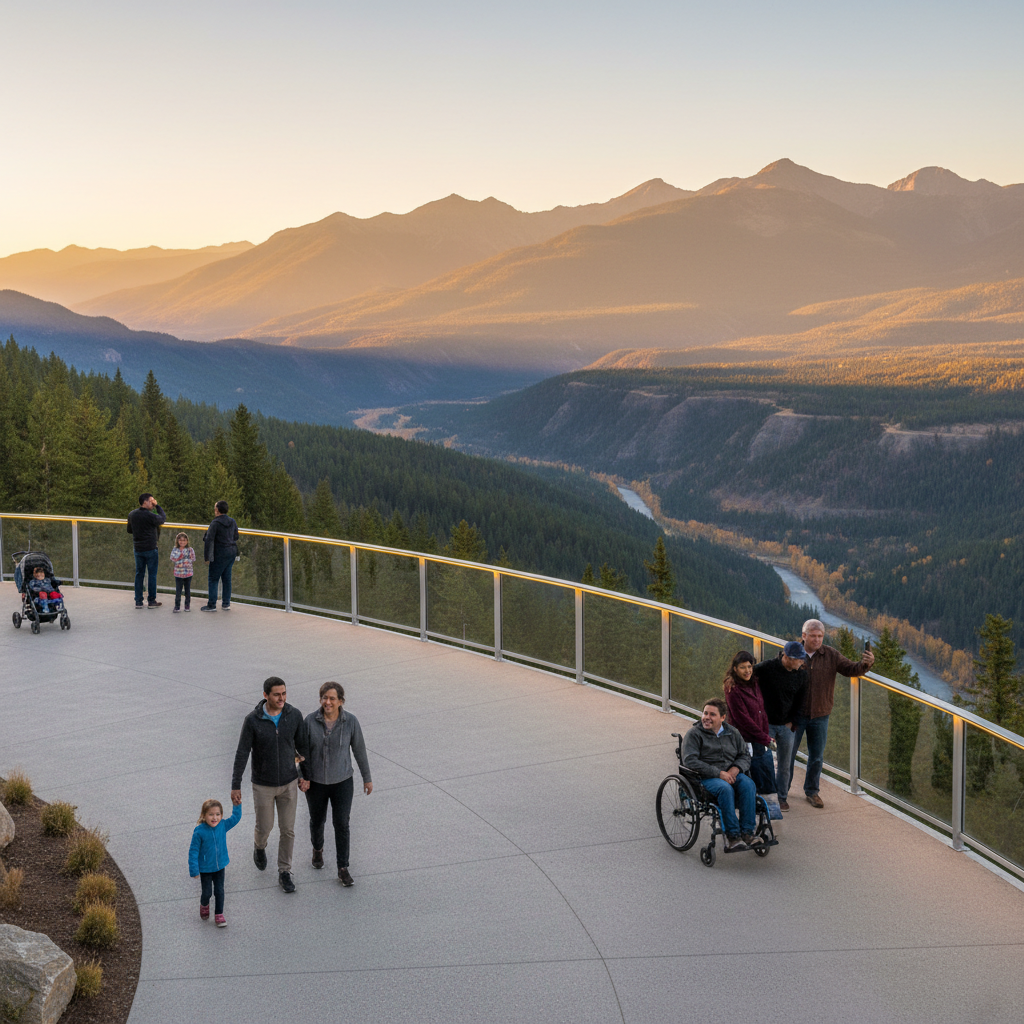
- Edge protection: guardrails or sturdy barriers reduce anxiety for families and anyone with balance concerns.
- Facilities: restrooms, benches, shade, and turnarounds for strollers or wheelchairs can decide whether a stop works.
One important boundary: “easy access” is not automatically “ADA accessible.” ADA features often include specific slope, width, and surface standards, and those can vary by site and maintenance conditions.
Common reasons an “easy” viewpoint still feels hard
Most frustration comes from mismatched expectations. The overlook itself might be easy, but the experience around it can be the real obstacle.
- Parking is the hike: lots fill early, overflow parking adds a long walk, sometimes on a shoulder with traffic.
- Short but steep approaches: a 5-minute climb can be more demanding than a longer, flatter path.
- Hidden steps: “short walk” listings often skip the stair count, which matters for knees, strollers, and walkers.
- Weather makes surfaces risky: wet boardwalks, icy patches, high wind, and sun exposure change the difficulty fast.
- Time-of-day crowding: tight viewpoints can feel unsafe when people squeeze past each other.
According to the National Park Service (NPS), accessibility can vary widely by location and conditions, and visitors are encouraged to check official accessibility information for specific parks and facilities before arriving.
A quick self-check: pick your “access level” before you search
Before you hunt for the perfect overlook, decide what “easy” means for your group today, not on your best day. This takes two minutes and saves a lot of backtracking.
- Mobility: Do you need a step-free route, or is a small number of steps okay?
- Stability: Are uneven surfaces a no-go, or manageable with trekking poles?
- Distance tolerance: Is 5 minutes the limit, or can you do 20 minutes if it’s flat?
- Rest needs: Do you need benches every so often, or just at the overlook?
- Sensory comfort: Do crowds, heights, or narrow ledges create anxiety?
Key takeaway: the more specific your “access level,” the easier it becomes to filter search results and avoid the viewpoints that look great but don’t fit.
How to find easy-access viewpoints that match reality
This is where most people waste time, they bounce between blogs, maps, and social posts, and still arrive unsure. Use a simple source order and you’ll usually get better results.
Start with official sources, then validate with recent trip reports
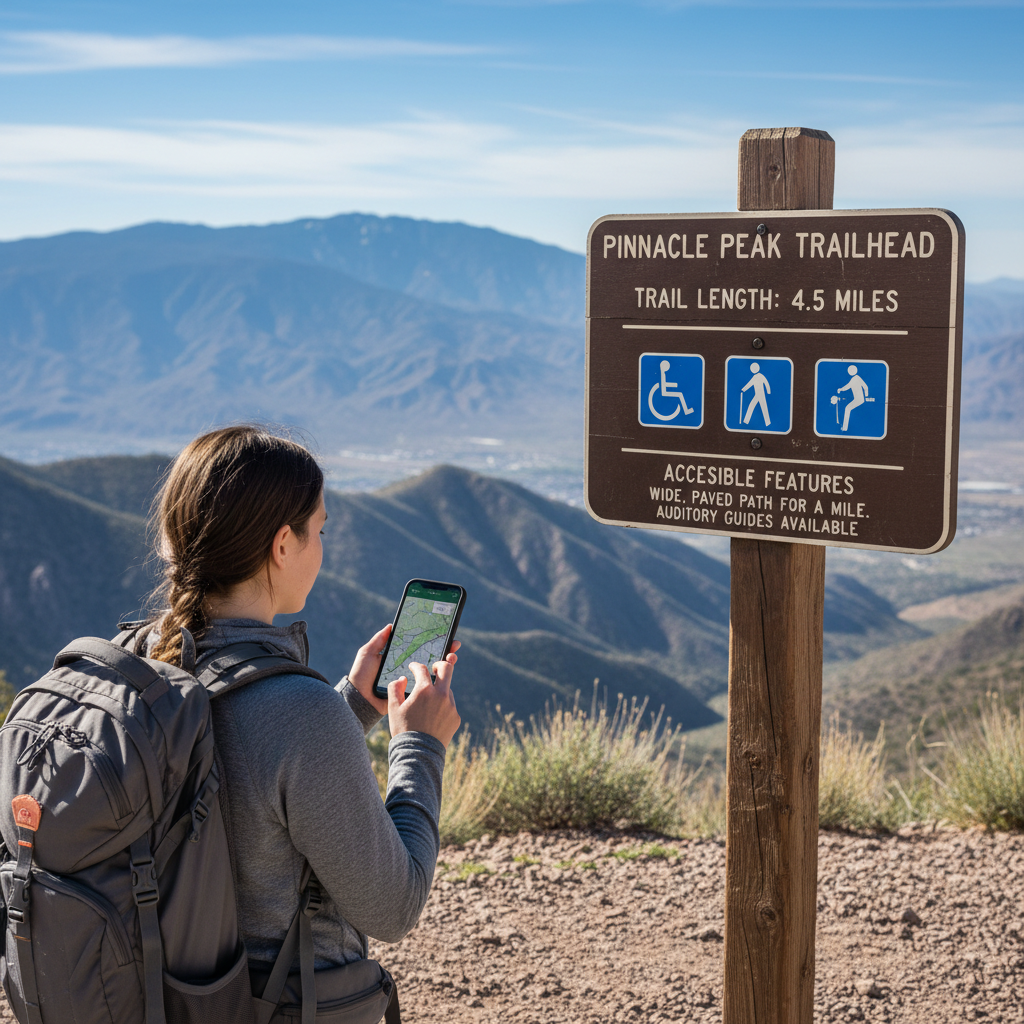
- Park and public land sites: check the destination’s official page for accessibility notes, closures, and shuttle details.
- Local tourism boards: often list overlooks with parking and family-friendly notes, though details can be light.
- Recent reviews and photos: look for keywords like “paved,” “stairs,” “steep,” “wheelchair,” “stroller,” and “overflow parking.”
According to the U.S. Forest Service, trail and site conditions can change due to weather, maintenance, and seasonal impacts, so it’s smart to look for the most recent updates you can find.
Use map layers and satellite view to spot red flags
- Satellite view can reveal switchbacks, steep spur roads, and whether the “parking lot” is actually roadside pull-offs.
- Street View, when available, can show curbs, stairs, path width, and railings.
- Look for turnarounds and lot size, small lots tend to create the biggest day-ruiners.
Planning table: choose a viewpoint without guesswork
If you only do one thing from this viewpoint travel guide easy access approach, reuse this table when comparing options. It forces you to check the factors that usually get skipped.
| What to check | Why it matters | What “good” looks like |
|---|---|---|
| Parking distance | Overflow parking can add an unplanned walk | Designated lot with clear stalls near the view |
| Surface type | Determines effort and fall risk | Paved, boardwalk, or well-compacted path |
| Grade/steep sections | Short steep ramps feel harder than longer flat routes | Gentle slope, minimal cross-slope |
| Steps and bottlenecks | Strollers and wheelchairs may not pass | Step-free route or clearly stated alternatives |
| Rest options | Fatigue management, especially for mixed-ability groups | Benches, shade, or frequent stopping points |
| Safety barriers | Comfort near edges and in windy conditions | Guardrail, wide platform, predictable footing |
Practical itinerary ideas for different travelers
You don’t need a complicated plan, you need the right rhythm. Here are a few patterns that work in real trips, especially when access needs vary within the group.
If you’re traveling with older parents
- Prioritize morning viewpoints to reduce heat and crowds.
- Choose overlooks with benches and a short approach, even if the view is slightly less “epic.”
- Build in a “comfort stop” every 60–90 minutes, fatigue shows up fast once it starts.
If you’re traveling with kids
- Pick viewpoints with clear barriers and room to move around.
- Use a two-stop approach: one quick overlook, then a longer break with snacks and bathrooms.
- Keep the “walk to the view” predictable, surprise stairs tend to trigger meltdowns.
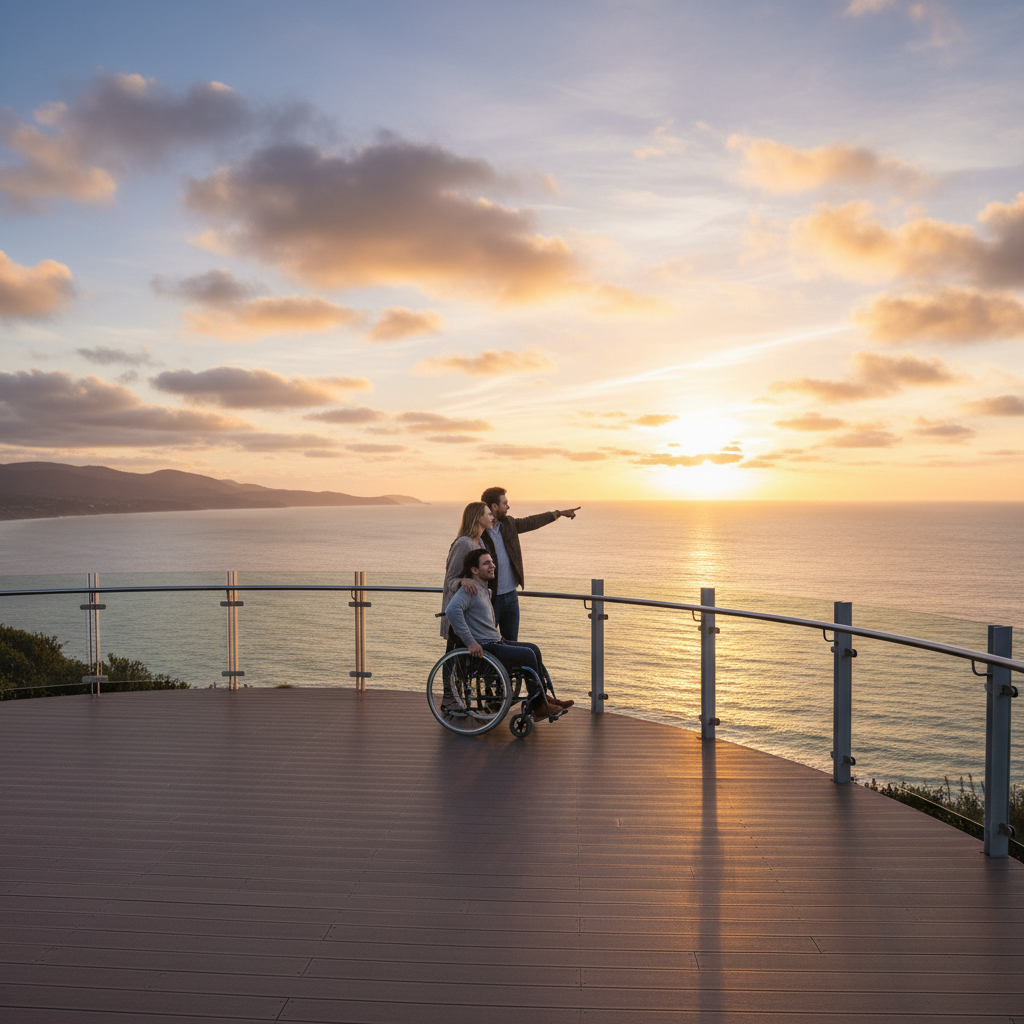
If you use a wheelchair or mobility device
- Look for official accessibility notes, then verify with recent photos of the approach and platform.
- Confirm parking layout, accessible stalls and a continuous route matter more than trail length.
- If conditions are uncertain, consider calling the site office or visitor center, staff often know what changed this week.
On-the-ground tips that make easy-access stops smoother
Even when you pick the right overlook, little logistics decide whether it feels easy or annoying. This is the stuff frequent travelers quietly optimize.
- Arrive earlier than you think: popular viewpoints can peak mid-morning, arriving earlier often means closer parking and less pressure.
- Carry traction and layers: in shoulder seasons, a viewpoint can be windy and cold even if the drive feels mild.
- Use the “two-route rule”: have a backup overlook within 15–30 minutes in case the first lot is full.
- Watch curb edges: a single curb cut missing near the platform can be the entire barrier for wheels.
- Keep expectations flexible: haze, wildfire smoke, and storms can limit views, sometimes the best call is a short stop and a warm drink elsewhere.
According to the National Weather Service (NWS), conditions in mountainous and coastal areas can shift quickly, so checking a local forecast and wind advisories before heading to exposed overlooks is a sensible habit.
Common mistakes (and what to do instead)
Most “easy access” disappointments come from a few predictable choices. Fixing them doesn’t require more effort, just a different checklist.
- Mistake: relying on distance alone. Do instead: treat surface and grade as equal to mileage.
- Mistake: assuming “family-friendly” equals stroller-friendly. Do instead: confirm step-free access and path width.
- Mistake: planning only one must-see overlook. Do instead: keep a second option nearby so a full lot doesn’t wreck the day.
- Mistake: ignoring altitude and exposure. Do instead: bring layers, water, and consider shorter stops if anyone feels unwell, and consult a professional if symptoms concern you.
Conclusion: a better way to chase views
A good viewpoint travel guide easy access plan doesn’t chase the hardest-to-reach “top spot,” it matches the overlook to your real constraints, then removes friction like parking surprises and sketchy surfaces.
If you want a simple next step, pick two viewpoints for your day, run them through the planning table, then check recent photos for steps, curbs, and crowding. You’ll spend less time troubleshooting and more time actually looking out at the view.
FAQ
- How do I tell if a viewpoint is truly step-free?
Look for official accessibility notes first, then verify using recent visitor photos that show the last stretch from parking to platform. If photos never show the approach, that’s a yellow flag. - Is “paved path” always wheelchair accessible?
Not always. A paved route can still have steep grades, cross-slope, tight turns, or missing curb cuts. When in doubt, call the site office for current conditions. - What’s a realistic walking distance for an easy-access overlook?
For many groups, under 0.25 miles one way feels manageable, but the more important factor is whether the route is smooth and not steep. A shorter route with a steep ramp can feel harder than a longer flat one. - What time should I visit popular viewpoints to avoid parking issues?
Many locations get busy mid-morning through late afternoon. Arriving earlier often improves your odds, and weekdays can be calmer than weekends, though this varies by season and destination. - How can I find accessible viewpoints in national parks?
Start on the park’s official website and search for “accessibility” pages and facility details. According to the National Park Service (NPS), accessibility information is park-specific and can change with conditions. - What should I pack for short, easy-access stops?
Water, a light layer, sun protection, and simple traction in colder seasons cover most surprises. For mobility equipment, a small repair kit can be reassuring, even on short routes. - What if someone in my group feels dizzy or short of breath at a viewpoint?
Take it seriously, especially at higher elevations or in heat. Rest, hydrate, and consider heading to a lower elevation, and seek medical advice if symptoms persist or worry you.
If you’re planning a trip with mixed abilities or you just want fewer “we didn’t think of that” moments, a simple checklist-based approach can be a relief, it turns viewpoint hunting into something repeatable instead of guesswork.