
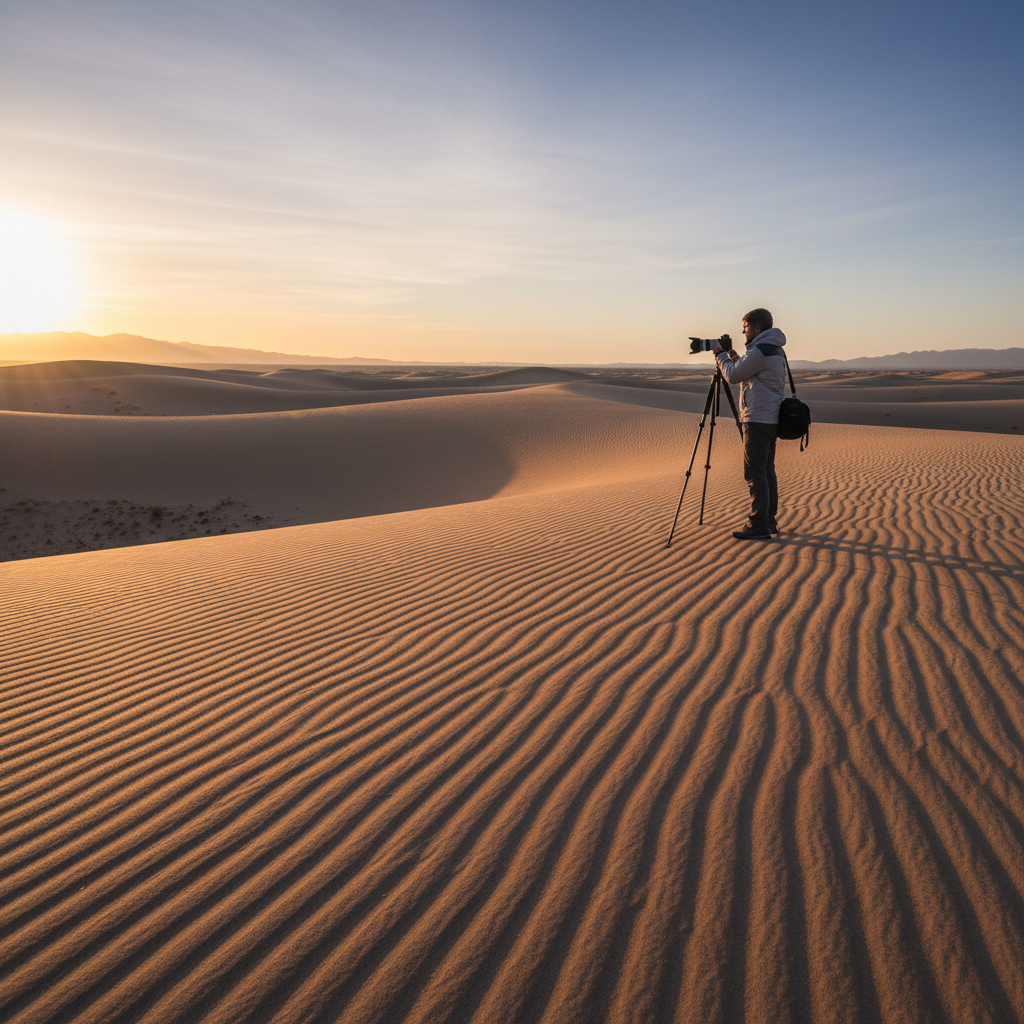
Sand dune travel spots can be stunning for photography, but they’re also the kind of landscapes that expose every weak link in your plan: flat light, blowing sand, and scenes that look the same in every direction if you arrive at the wrong hour.
If you want photos that feel three-dimensional and intentional, you need two things more than fancy gear, light you can shape with timing, and a short checklist that keeps you moving when conditions change.
This guide focuses on practical choices: where dunes tend to photograph well, what to look for on-site, and how to come home with variety instead of 200 near-duplicates. I’ll also flag common mistakes that waste a trip, and when it’s smart to ask locally before you step off the pavement.
What makes sand dunes so photogenic (and why they’re hard)
Dunes look simple, but they’re basically a giant light-and-shadow machine. When the sun gets low, every ripple turns into texture, and the curves act like leading lines without you doing much.
The hard part is that dunes punish “midday wandering.” The contrast disappears, the sand turns into one bright sheet, and autofocus can hunt because there’s not much edge detail.
- Light changes fast: a 20-minute window can be the difference between flat and dramatic.
- Wind edits your scene: tracks vanish, crests shift, and blowing sand can haze your background.
- Scale is tricky: without a subject, photos can feel like a wallpaper pattern.
- Gear risk is real: sand gets into zippers, lenses, and tripods if you’re careless.
Quick self-check: which kind of dune shoot are you planning?
Before you pick from sand dune travel spots, decide what you actually want to photograph. This small decision changes your timing, lens choice, and even where you stand.
- Iconic landscape: big ridgelines, clean horizons, wide-angle compositions.
- Texture and abstracts: ripples, shadows, minimalist frames, tighter focal lengths.
- People and scale: a hiker, a couple, a silhouette, or even a single footprint used on purpose.
- Night and stars: dunes under moonlight, Milky Way arcs, light painting kept subtle.
If you’re unsure, plan for a mix: wide shots at golden hour, detail shots after the sun drops, and one “scale” frame so the set feels complete.
Sand dune travel spots in the U.S. that consistently photograph well
For U.S.-based travelers, these places come up often because access is straightforward and the dunes are visually distinct. Conditions vary by season, recent wind, and crowd levels, so treat this as a short list to research, not a guarantee.
- Great Sand Dunes National Park (Colorado): dramatic peaks behind the dunes give instant scale and a strong horizon line.
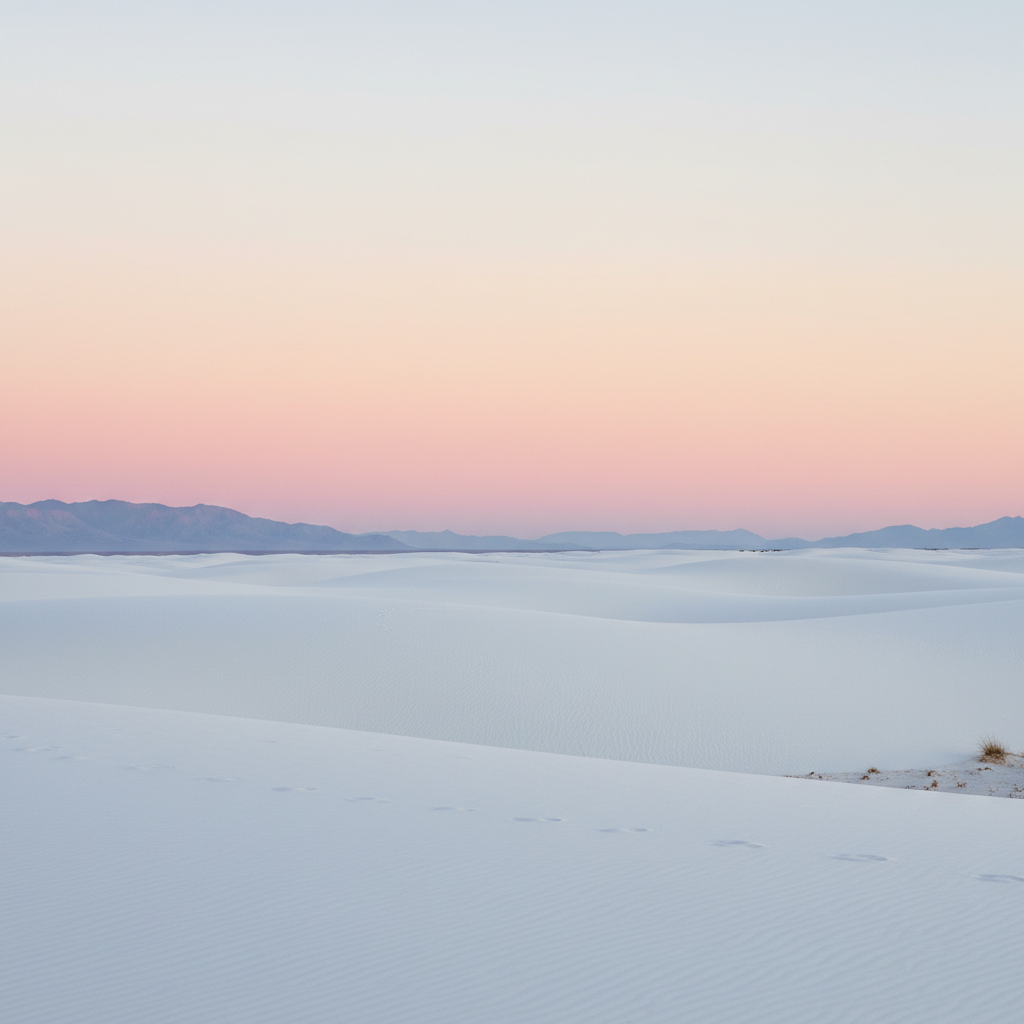
- White Sands National Park (New Mexico): bright gypsum dunes photograph differently than tan sand, especially at sunrise/sunset.
- Death Valley National Park – Mesquite Flat (California): classic ripples and curves, easy access, strong when you walk past the first visible ridge.
- Oregon Dunes National Recreation Area (Oregon): coastal dunes add mist, driftwood, and mood, less “desert postcard,” more atmospheric.
- Coral Pink Sand Dunes State Park (Utah): warm tones and rolling forms, great for late-day color.
According to National Park Service guidance, conditions and rules can change by season, weather, and habitat protection, so check current alerts and area restrictions before you go.
How to choose the right time: light, wind, and crowds
If you remember one thing about dunes, make it this: timing is your main lens. Great sand dune travel spots can look average at the wrong hour.
- Sunrise: cleaner sand, fewer people, cooler temps, longer shadows early on.
- Golden hour: warm color and texture, but expect more footprints near popular access points.
- Blue hour: softer contrast, great for minimalism and silhouettes if the sky cooperates.
- After wind: wind can erase clutter and refresh ripples, but it also reduces comfort and clarity.
Crowds are a photography problem more than a travel problem. If a location is popular, plan to walk farther than most people will, even 10–20 minutes can change your foreground completely.
Composition that works on dunes (when everything looks the same)
Dunes reward a few repeatable composition habits. The goal is to give the viewer a path through the frame, then a payoff.
- Start with a ridge: shoot along the crest to create a clean line and separation.
- Use ripples as leading lines: get low enough that the texture becomes graphic, not just “sand.”
- Add scale on purpose: a person on a ridge, kept small, makes the landscape feel enormous.
- Watch the horizon: keep it level, and avoid cutting through the subject’s head if you include people.
- Simplify: if the frame feels busy, it usually is, move your feet until there are fewer elements.
One practical trick, shoot a wide establishing photo first, then force yourself to make three tighter frames without moving more than a few steps. It keeps you from only collecting postcards.
Practical shooting plan: a simple 60–90 minute workflow
This is a low-stress way to work a dune session without overthinking. You’ll adapt on-site, but having a plan prevents the classic “I walked a lot and shot nothing.”
- First 10 minutes: walk without shooting much, find a clean ridge and check where footprints are worst.
- Next 20 minutes: wide-angle work, prioritize big curves, ridgelines, and any background features.
- Next 20 minutes: mid-range frames, isolate patterns, look for shadow shapes and negative space.
- Final 20–40 minutes: scale shots and experiments, silhouettes, motion in blowing sand, or longer exposures if wind allows.
Key point: keep one lens change mindset. If you swap lenses constantly, sand tends to find its way into places you don’t want to clean later.
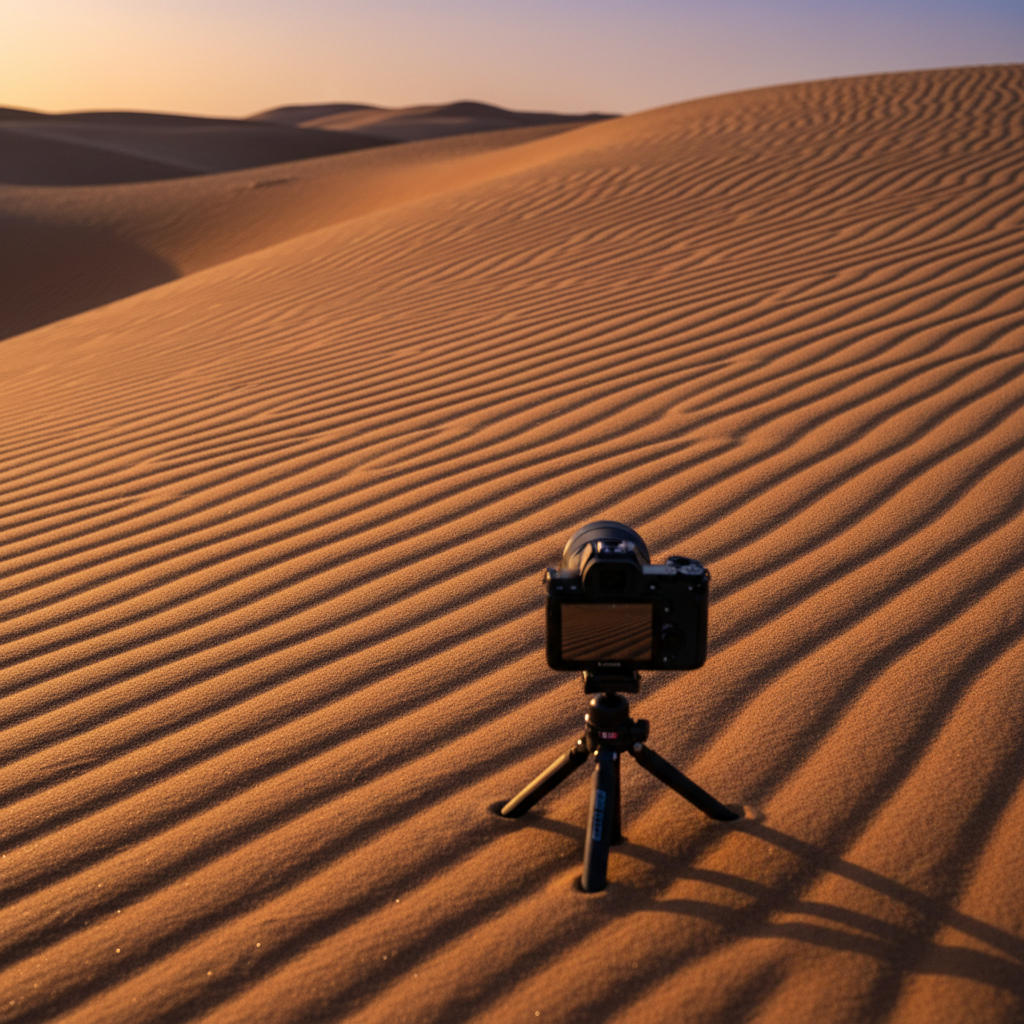
Gear and settings: what matters most (and what’s optional)
You can shoot dunes with almost any camera, even a phone, if the light is right. But a few choices make your life easier.
Helpful gear
- Lens hood: reduces flare and gives a little physical protection.
- Microfiber cloth + blower: for grit on front elements, avoid grinding sand into glass.
- Lightweight tripod: optional, but useful for blue hour or night, keep legs out of wet sand when possible.
- Simple protective bag: even a clean plastic bag can help during windy bursts.
Settings that usually work
- Aperture: f/8–f/11 for landscapes, wider for subject isolation.
- Shutter speed: raise it if wind blows sand across the frame or your subject moves on ridges.
- Exposure: bright sand can fool meters, watch highlights, consider slight underexposure to protect detail.
- Focus: use a clear edge on a ridge or ripple line, then recompose carefully.
Phones do well when you tap to set exposure on the brighter sand, then nudge exposure down slightly so the highlights don’t wash out.
Safety, etiquette, and common mistakes to avoid
Dunes feel playful, but they can be harsh environments. According to National Park Service recommendations, visitors should plan for heat, sun exposure, and changing weather, and follow posted rules to protect both people and fragile areas.
- Heat and dehydration: even short walks feel longer in sand, bring more water than you think you need.
- Navigation: it’s easy to lose your “trail” in featureless terrain, a map app and awareness of landmarks help.
- Footprints everywhere: don’t fight them from the main entrance, walk for cleaner sand or shoot tighter abstracts.
- Chasing every scene: dunes repeat, commit to one ridge and work it deeply before roaming.
- Leaving gear exposed: set your bag opening away from wind, and avoid lens changes in gusts.
If you’re photographing people, keep distance and avoid stepping through someone else’s composition, dunes don’t offer many alternate foregrounds once tracks appear.
Comparison table: pick a spot style that matches your photo goals
Not all sand dune travel spots feel the same. This table helps you match your goal to a “type” of dune location, then you can research a specific park or region.
| Spot style | Best for | Watch out for | Go-to time |
|---|---|---|---|
| Mountain-backed dunes | Scale, dramatic landscapes | Haze, fast weather changes | Sunrise or late golden hour |
| White dunes | Minimalism, clean color palettes | Highlight clipping, bright glare | Sunset into blue hour |
| Coastal dunes | Mood, fog, storytelling elements | Wind, salt spray on lenses | Morning or overcast days |
| Popular roadside dunes | Quick access, learning sessions | Footprints, crowds in frames | Weekdays, early morning |
Key takeaways you can use on your next dune shoot
- Let the sun do the work, low-angle light makes dunes look sculpted.
- Walk past the first ridge, that’s where many frames get cleaner.
- Make one scale photo, even if you love abstracts, it helps the set feel complete.
- Protect your gear from sand, fewer lens swaps and smarter bag handling saves headaches.
Conclusion: turn a dune visit into a photo set you’re proud to share
The best sand dune travel spots reward patience more than speed, if you arrive with a timing plan, work one ridge carefully, and stay flexible when wind and footprints change the scene, you’ll leave with variety instead of repetition.
Pick one location, commit to sunrise or sunset, and write a three-shot list before you go: a wide landscape, a texture close-up, and a scale image with a subject. That small structure keeps your creativity from getting lost in the sand.
FAQ
What are the best sand dune travel spots for photography in the U.S.?
Great Sand Dunes (CO), White Sands (NM), and Death Valley’s Mesquite Flat (CA) are reliable starting points, mainly because access is manageable and the dunes have distinct shapes. Your “best” choice still depends on season, wind, and how far you’re willing to walk for clean sand.
When is the best time of day to photograph sand dunes?
Sunrise and the last hour before sunset usually produce the strongest texture because shadows stretch across ripples. Midday can work for high-key minimalism, but it often feels flatter and harsher.
How do I avoid footprints in my dune photos?
Get there earlier, walk farther than casual visitors, and shoot along clean ridges where wind naturally wipes tracks. If the area is busy, switch to tighter compositions where footprints don’t reach your frame.
What lens is best for sand dune photography?
A wide-angle lens helps when you want sweeping curves and a big sense of place, while a mid-range zoom is great for isolating patterns and compression. If you only bring one, a standard zoom often gives the most variety with fewer lens changes.
How do I expose correctly for bright sand?
Bright sand can push your camera to underexpose the scene or blow highlights, depending on metering. Watch your highlight warning or histogram, and consider a small exposure reduction to keep texture in the brightest areas.
Is it safe to shoot dunes in high wind?
It can be uncomfortable and can increase risk of eye irritation and gear damage. If wind is strong, it’s usually smarter to protect equipment, keep your face covered, and shorten the session, and if you’re unsure, ask rangers or local staff about current conditions.
Can I shoot the Milky Way over sand dunes?
Yes, many dunes are far from city lights, which helps. You’ll still need to check moon phase, local regulations, and access hours, and a tripod plus careful focusing makes a big difference at night.
If you’re planning a trip around sand dune travel spots and want a tighter shortlist based on your home airport, season, and photo style, it can help to map two or three options and choose the one with the best light window and simplest access rather than chasing the most famous name.