
how to take fall travel photos beautiful usually comes down to three things you can control on any trip, light, color, and what you choose to leave out of the frame.
If your autumn photos keep looking flat, too orange, or “not like what I saw,” you’re not alone, fall scenes have high contrast, mixed lighting, and busy backgrounds that trick both phones and cameras.
This guide stays practical, how to pick the right time of day, how to expose for bright leaves, which compositions look “travel” instead of “random tree,” plus quick edits that keep fall color believable rather than neon.
Start with light, because fall color depends on it
Fall color looks richest when light has direction and softness, that’s why the same trees can look dull at noon but glow at sunrise.
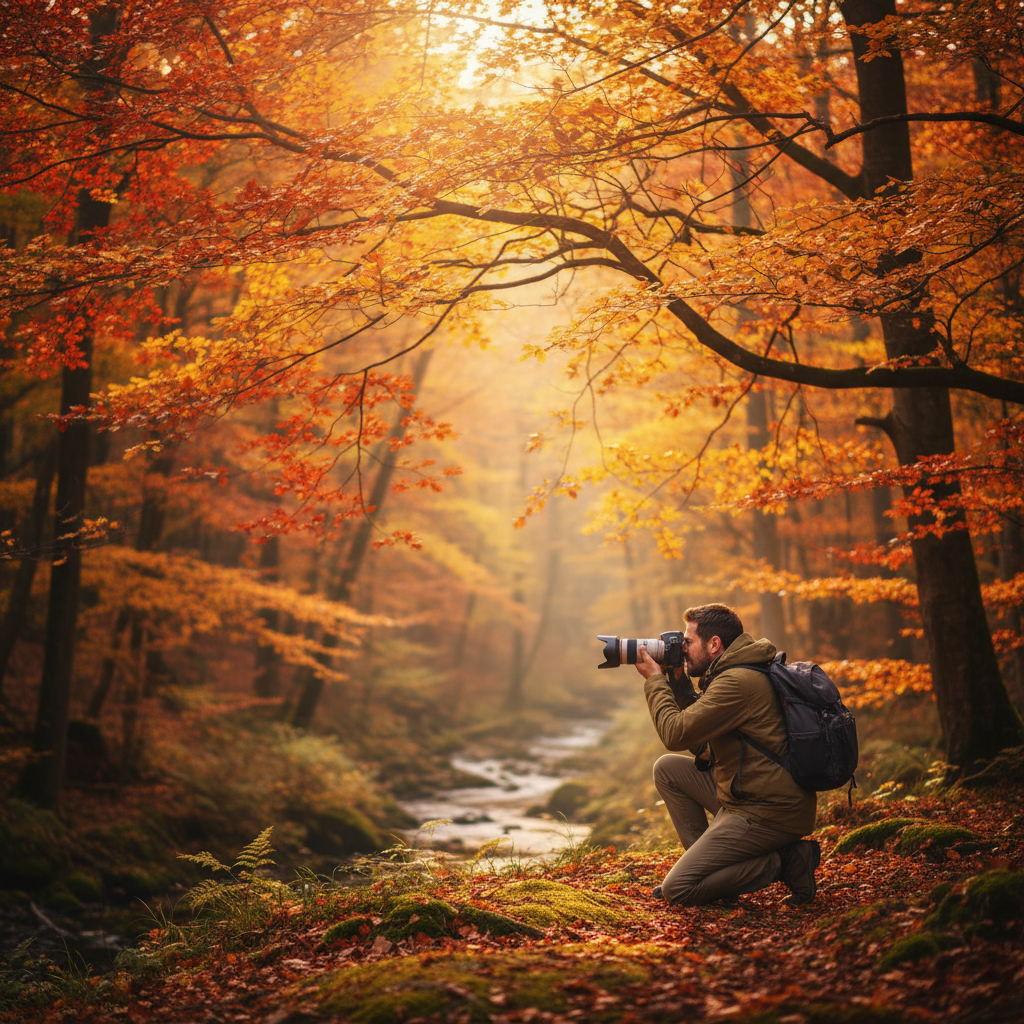
- Golden hour: Warm, low-angle sun makes leaves look layered and three-dimensional, great for landscapes and street scenes.
- Overcast days: Think of clouds as a giant diffuser, colors look saturated, shadows soften, and portraits are easier.
- Backlight: Put sun behind leaves, expose carefully, and you get that stained-glass effect that screams autumn.
According to National Geographic, paying attention to light direction and quality is one of the biggest differences between snapshots and photographs, that advice matters even more in fall when highlights clip fast.
Get exposure right, leaves can blow out faster than you expect
Bright yellow leaves and sky can push your camera into overexposure, and then color looks washed out, not “beautiful.” The fix is simple, protect highlights first, then lift shadows later.
Phone settings that actually help
- Tap to focus on the leaves, then drag exposure down slightly until detail returns in bright areas.
- Turn on HDR when the scene has sky plus dark trees, but avoid it if wind causes ghosting.
- If your phone offers RAW or Pro mode, use it for hero shots you plan to edit.
Camera settings (DSLR/mirrorless)
- Shoot RAW, it gives more room to fix white balance and recover highlights.
- Use exposure compensation, often -0.3 to -1.0 EV in bright foliage scenes, then check your histogram.
- For handheld landscapes, try 1/250s or faster if leaves move, raise ISO rather than accept blur.
One mindset shift helps, if you’re learning how to take fall travel photos beautiful, you’re usually better off with a slightly darker file that keeps leaf texture.
Compose like a traveler, not a leaf catalog
Pretty leaves alone can look generic, travel photos feel stronger when they include place cues, scale, and a clear subject.
- Use a foreground: A fence, a coffee cup on a balcony, boots on leaves, anything that says “I’m here.”
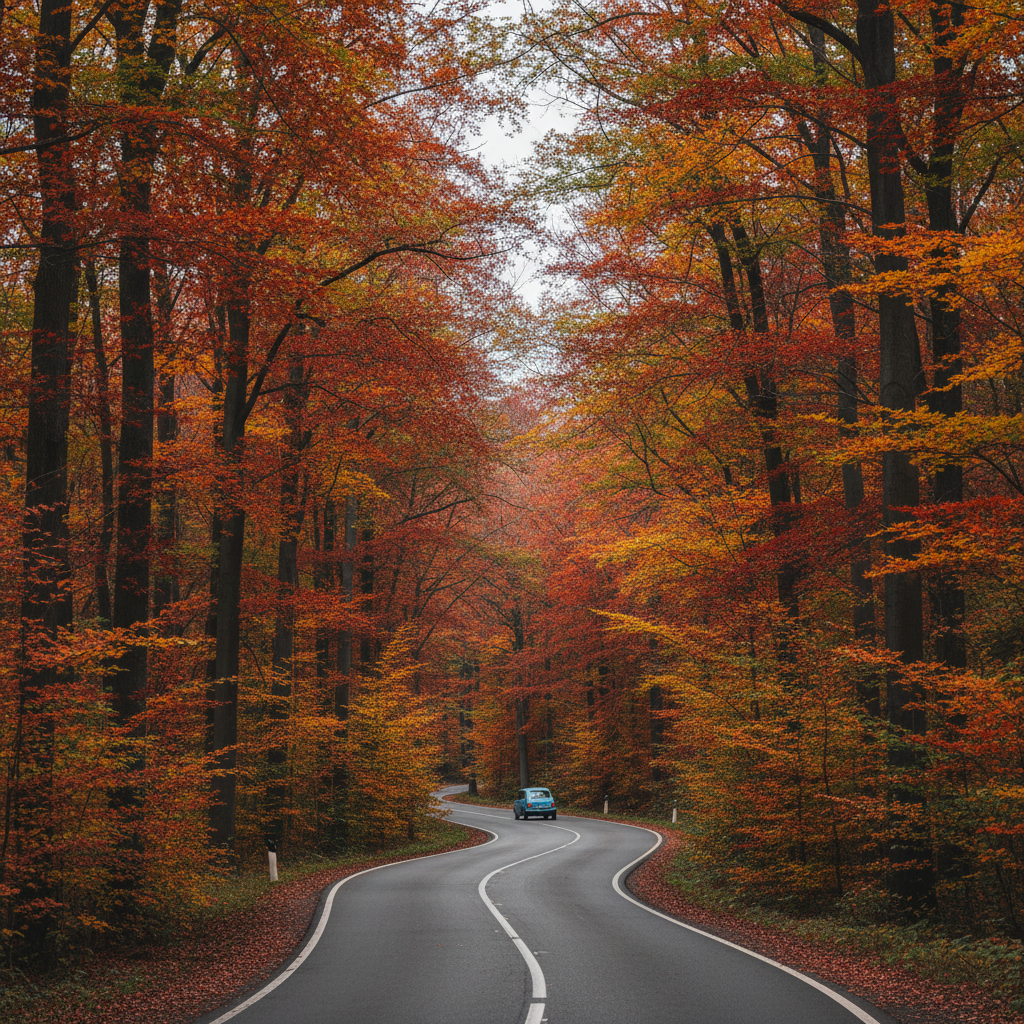
- Look for leading lines: Tree tunnels, trails, bridges, rivers, and rows of maples naturally guide the eye.
- Add a subject: A person, a bike, a cabin, a street sign, so the frame has a story.
- Simplify backgrounds: Step left, kneel, zoom in, or use portrait mode to avoid clutter like parked cars.
When a scene feels messy, try this quick rule, if you can’t name the subject in one sentence, your viewer won’t find it either.
Capture fall color without making it look fake
Fall is where many cameras over-warm skin tones and over-saturate reds, then everything turns pumpkin-orange. A more natural look usually reads as “better,” even if it’s less intense than your memory.
White balance and color tips
- If faces look too orange, cool your white balance slightly, or move your subject into open shade.
- For leaf detail, avoid crushing blacks, keep some shadow information so colors don’t look pasted on.
- Watch reds, they clip easily, reduce red saturation a touch rather than boosting everything.
According to Adobe, working from RAW and adjusting white balance and HSL selectively is a standard way photographers keep color believable while still punchy.
A quick shot list for fall travel (so you don’t come home with repeats)
Most trips produce twenty versions of the same tree because it feels safe, a shot list nudges you into variety.
- Wide establishing: A skyline with foliage, a mountain ridge, a town main street with trees.
- Mid-range story: Market stalls, a trailhead sign, a porch with pumpkins, a cafe window reflection.
- Detail textures: Wet leaves on stone, bark patterns, steam from a hot drink, hands holding a map.
- People in place: Walking through a tree tunnel, sitting by a lake, looking out from an overlook.
- Night or blue hour: Street lamps, cozy interiors, rain on windows, neon with fall bokeh.
If you’re still wondering how to take fall travel photos beautiful, variety is part of the answer, your best image might be the quiet detail you almost skipped.
Editing workflow that keeps your photos crisp and autumn-ready
Editing should mainly restore what the camera flattened, not reinvent the season. Aim for clean contrast, controlled warmth, and clear subjects.

Simple 6-step edit (works in Lightroom, Photos, Snapseed)
- Crop first to remove distractions and strengthen lines.
- Lower highlights until leaf detail returns.
- Lift shadows slightly, but keep some depth.
- Set white balance so whites look neutral, then add warmth carefully.
- Fine-tune HSL, reduce orange/red saturation a bit, raise luminance for yellows to keep glow.
- Add sharpening lightly, avoid heavy clarity that makes leaves crunchy.
Quick reference table: common fall photo problems and fixes
| Problem | What it usually is | Fast fix |
|---|---|---|
| Leaves look dull | Flat midday light, low contrast | Shoot earlier or in shade, add gentle contrast and vibrance |
| Everything looks orange | Warm white balance, mixed light | Cool WB slightly, reduce orange saturation, move into open shade |
| Sky is white | Highlights clipped | Expose down, use HDR, or reframe to include less sky |
| Busy background | Too wide, no subject separation | Step closer, use portrait mode, choose a cleaner angle |
| Soft photos | Motion blur, slow shutter | Increase shutter speed, stabilize, raise ISO if needed |
Practical tips for safety, etiquette, and gear choices
Fall travel often means wet trails, roadside overlooks, and crowds chasing peak color, your photo is not worth a slip or a ticket.
- Roadside scenes: Stay off traffic lanes, use pullouts, and follow local rules, if unsure, skip the shot.
- Hiking spots: Watch footing on leaves and wet rocks, conditions vary, and if you have health concerns, it’s smart to consult a professional.
- Drones: Regulations differ by location, check rules before flying. According to FAA, recreational drone pilots in the U.S. must follow safety guidelines and airspace requirements.
- Gear reality: A phone with clean lenses beats a fancy camera with smudges, wipe your lens more than you think.
Key takeaways and what to try on your next fall day
If you want how to take fall travel photos beautiful to feel less mysterious, treat it like a repeatable process, chase good light, protect highlights, simplify your frames, then edit gently.
- Go early or go cloudy, midday sun is the hardest mode.
- Underexpose a touch when leaves get bright, then recover in editing.
- Build “travel context” with foregrounds, people, signs, and leading lines.
- Edit for realism, control orange and red before boosting overall saturation.
Pick one nearby location and run a small experiment, shoot the same scene in morning vs late afternoon, then compare results, that single habit teaches faster than any gear upgrade.