
how to prepare for adventure travel trip is really about reducing surprises, not trying to control everything. If you’ve ever arrived in a new place and realized your “plan” was a screenshot, your rain jacket was decorative, or your insurance didn’t cover what you assumed, you already know why prep matters.
Adventure travel is different from a city weekend because small gaps add up fast: altitude, weather swings, limited cell service, and long transfer days can turn minor discomfort into a safety issue. Good preparation keeps you flexible, and it also protects your budget when plans change.
People also overthink the wrong parts. They spend hours comparing backpacks, then skip the boring steps like understanding local weather patterns, emergency access, or what happens if they get sick. This guide focuses on the choices that tend to matter most in real trips.
Start with your trip profile (risk, effort, and logistics)
Before you buy anything, define what kind of “adventure” you’re actually doing. A guided canyon hike and a self-supported backcountry trek share photos on Instagram, but they demand different prep.
- Remoteness: Can you reach a road or clinic within a few hours, or is it a multi-day extraction?
- Environment: Heat, cold, altitude, humidity, water crossings, wildlife, and seasonal storms.
- Support level: Fully guided, semi-guided, or independent. The less support, the more you carry in skills and contingencies.
- Trip rhythm: Early starts, long drives, jet lag, consecutive high-output days.
If you’re unsure, read the operator’s “trip notes” closely, then match your plan to the hardest day, not the average day. That mindset alone upgrades how to prepare for adventure travel trip without adding complexity.
Build a timeline: what to do 8 weeks, 2 weeks, and 48 hours out
Preparation gets easier when you stop treating it as one big task. Here’s a simple schedule you can steal and adjust.
| When | Focus | Practical actions |
|---|---|---|
| 6–8 weeks out | Feasibility + health basics | Confirm route/guide details, check passport validity, book key transport, start conditioning, review vaccines/meds with a clinician if needed |
| 2–3 weeks out | Gear + skills | Test footwear, do a long walk with your pack, practice layering, validate power adapters/SIM plan, finalize packing list |
| 7 days out | Weather + backup plans | Monitor forecast trends, identify indoor or lower-risk alternates, download offline maps, share itinerary with a trusted contact |
| 48 hours out | Execution | Pack for carry-on priorities, print/backup documents, charge batteries, confirm pickups, sleep and hydrate |
Notice what’s missing: panic shopping the night before. If you can avoid that, you’re already ahead.
Train for the demands you can’t “buy”
Gear helps, but fitness and basic movement tolerance keep you from suffering through day two. If you’re wondering how to prepare for adventure travel trip physically, aim for simple, repeatable conditioning rather than extreme workouts.
- Time-on-feet: Build up to the longest expected day in chunks (walks, hikes, stair sessions).
- Pack comfort: Do at least two practice sessions wearing the shoes and carrying the approximate pack weight.
- Heat or altitude reality check: If your trip includes either, plan conservative pacing; symptoms can vary by person, and a clinician can advise if you have health conditions.
- Mobility and feet care: Calves, ankles, hips, blister prevention. Not glamorous, very effective.
According to CDC (Centers for Disease Control and Prevention), travelers should plan ahead for health needs, including medications and destination-specific considerations. That’s especially relevant if you have asthma, diabetes, heart conditions, or past altitude issues.
Pack for function: layering, feet, and the “small safety kit”
Packing for adventure travel is mostly about two systems: temperature management and friction management. If you nail those, most days feel easier.
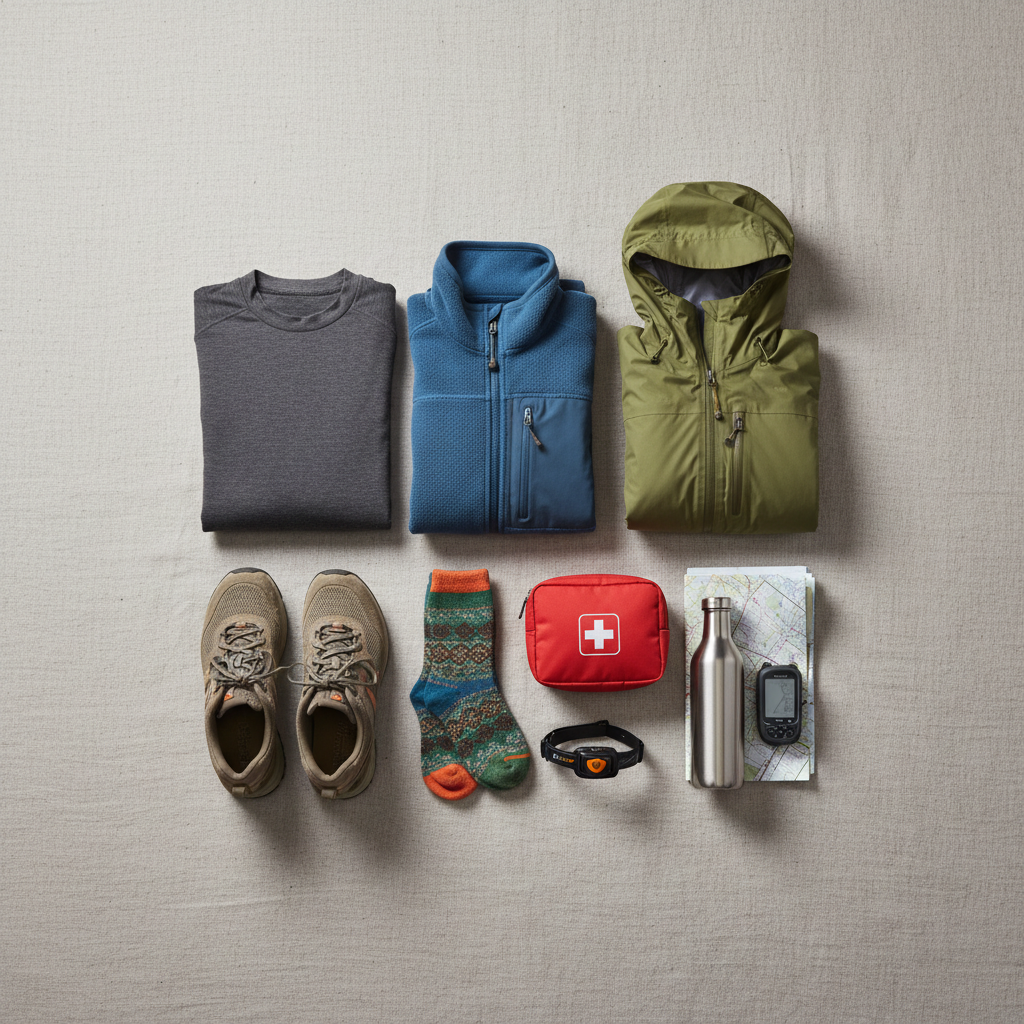
Core packing logic (works for most trips)
- Layering: breathable base, warm mid-layer, wind/rain shell. Skip bulky “one big jacket” unless the environment truly demands it.
- Feet: shoes you’ve already tested, two sock types (thin liner optional, plus hiking socks), blister patches or tape.
- Water strategy: bottle or bladder you’ll actually use, plus a plan for refills. Water treatment can be useful depending on location.
- Light and power: headlamp with fresh batteries, power bank, cables that match your devices.
A small safety kit that stays realistic
Keep it compact, and tailor it to remoteness. Many people go too big, then leave it behind.
- Basic first aid supplies (bandages, blister care, antiseptic wipes)
- Any personal prescriptions in original containers
- Anti-inflammatory or pain relief you tolerate well (if appropriate for you)
- Electrolytes for hot climates
- Emergency whistle, compact lighter, and a simple emergency blanket for colder routes
For higher-risk routes, consider a satellite communicator, but match it to your trip profile. Buying one for a guided day hike can be overkill; skipping one for a remote self-guided trek can be the opposite.
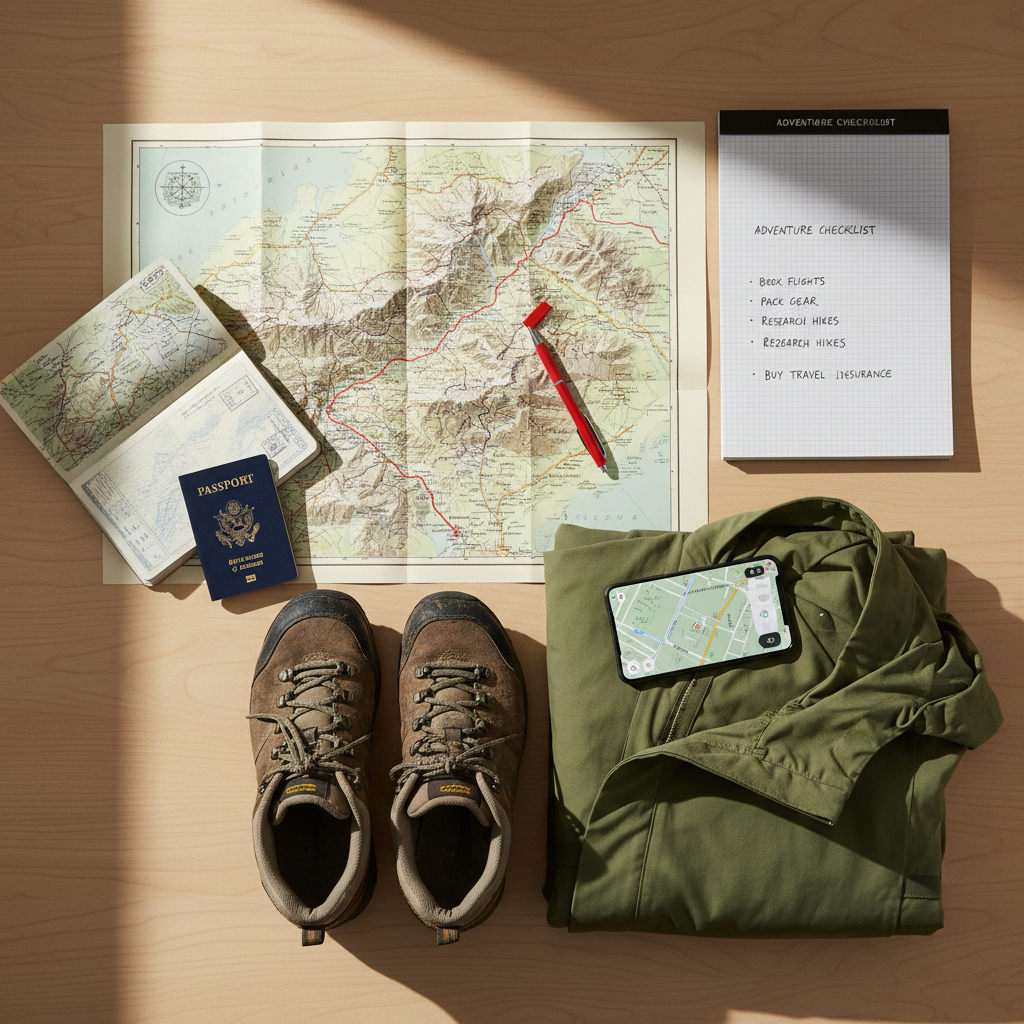
Paperwork and protection: documents, insurance, and money access
This is the part travelers love to ignore, until something goes sideways. If you want how to prepare for adventure travel trip to actually pay off, handle the “admin” with the same seriousness as boots.
- Documents: passport validity, visas (if required), copies stored offline and in email, emergency contacts written down.
- Insurance: check exclusions. Many policies treat trekking above certain altitudes, motorbike riding, diving, or climbing as add-ons. If wording is unclear, ask the insurer in writing.
- Money access: two payment methods, a backup card stored separately, and a plan for ATMs if you’re going remote.
According to U.S. Department of State, travelers should review destination-specific safety information and enroll in STEP (Smart Traveler Enrollment Program) for updates and easier contact in emergencies.
Plan the route like you expect friction (because you should)
Adventure itineraries fail in predictable ways: delays, weather, fatigue, and bad assumptions about travel time. Build in slack where it matters.
- Transfer buffers: avoid tight connections before a major trek or expedition day.
- Offline navigation: download maps, confirm trail names can differ locally, save key pins like trailheads and clinics.
- Weather alternatives: one lower-risk option that still feels “worth it.” You’ll thank yourself on storm days.
- Communication plan: who you check in with, how often, and what “no contact” means before they escalate.
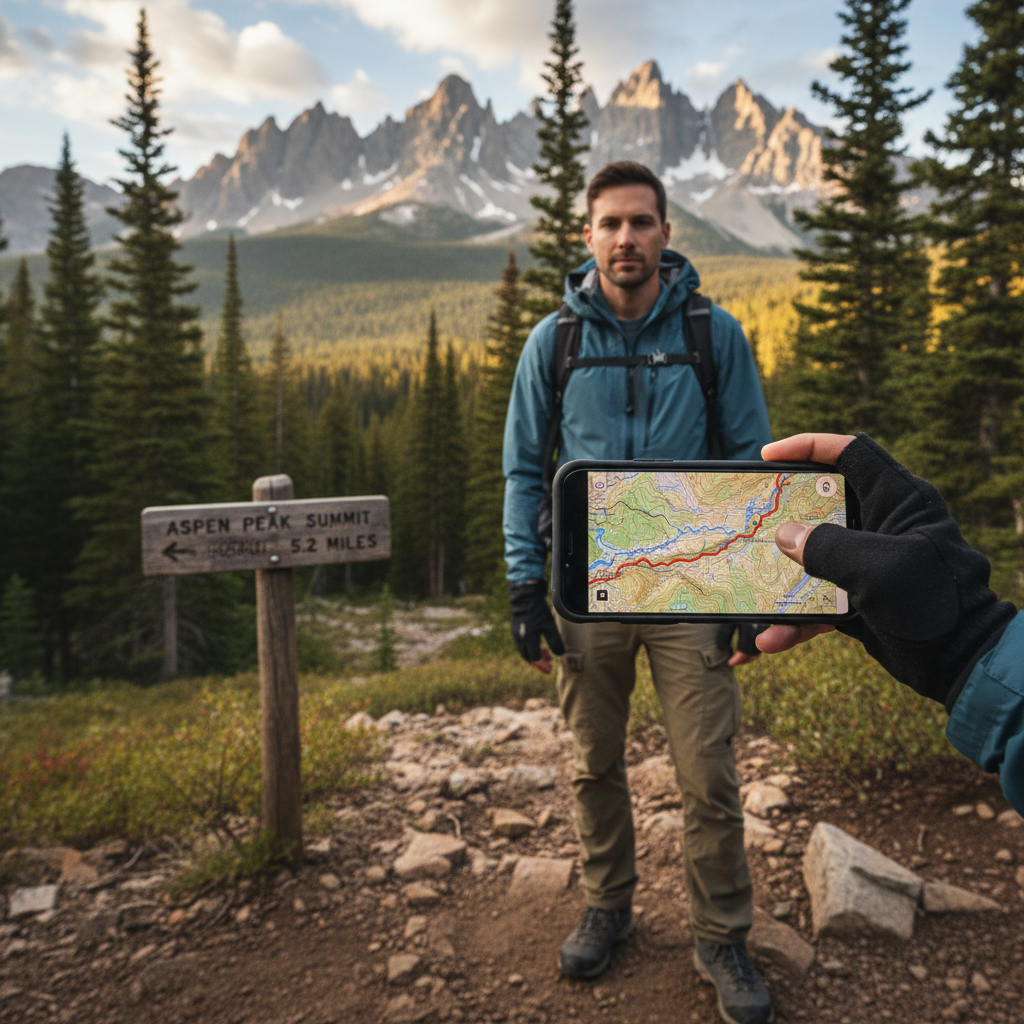
One practical trick: write a “minimum viable day” plan. If energy drops or conditions worsen, what’s the safe version of today that still moves you forward?
Quick self-check: are you actually ready?
If you can answer these without squinting at your notes, you’re close.
- I know the hardest day of the trip and what it requires (time, elevation, temperature, gear).
- I’ve worn my main shoes for at least two longer sessions, and I know where hot spots form.
- I can explain my insurance coverage in one sentence, including any exclusions that matter.
- I have offline access to maps, reservations, and key addresses.
- Someone at home has my itinerary and a check-in plan.
- I have a realistic plan for water, sun protection, and rest.
If two or more items feel shaky, that’s not a reason to cancel, it’s a signal to tighten scope or add support. Many trips become great once the plan matches the traveler, not the fantasy version.
Common mistakes that waste money or increase risk
- New boots on day one: even “comfortable” boots can turn on you after hour four.
- Overpacking safety gear, underpacking basics: a heavy bag makes everything harder; prioritize layers, water, and feet care.
- Ignoring local norms: permits, guides, restricted trails, or weather closures are real constraints, not suggestions.
- No recovery time: stacking red-eye flights into a big hike often backfires.
- Assuming cell service: verify coverage, and plan for none.
When to get professional help (smart, not dramatic)
Some situations deserve a second opinion. If you have chronic conditions, past altitude sickness, recent injuries, or you’re planning a remote route, it’s reasonable to consult a travel medicine clinic or your primary care clinician for personalized guidance.
For technical objectives such as climbing routes, glacier travel, or long backcountry crossings, hiring a certified guide or taking a skills course can be a better “purchase” than another piece of gear. It also reduces decision fatigue once you arrive.
Key takeaways and a simple next step
Good adventure prep isn’t about being fearless, it’s about being ready. If you do three things, make them these: define your trip profile, test your footwear and pack, and confirm coverage plus offline access. That combination prevents most avoidable pain.
Your next step: open a notes app and build your 6–8 week timeline, then schedule one practice outing this weekend. Small actions, done early, make the whole trip feel lighter.
Practical checklist you can copy:
- Trip profile: remoteness, environment, support level
- Fitness plan: time-on-feet + pack test
- Gear system: layers + feet + light + water
- Documents: backups + contacts
- Route: buffers + offline maps + check-ins
If you’re planning a big itinerary and want a more streamlined way to organize gear, training, documents, and daily logistics, a structured planning template or a trip consult with a reputable outfitter can save time and reduce last-minute scrambling without overcomplicating your travel style.